Image to relief generator
Image to Relief — Turn Any Photo into a 3D Relief Model
Upload a photo and get a detailed, print-ready 3D relief in about a minute. See it in plaster, bronze or the photo's own colours, and tune it live. Your first one is free.
20 free credits when you sign up, enough for your first relief · Members download STL, 3MF, OBJ & GLB
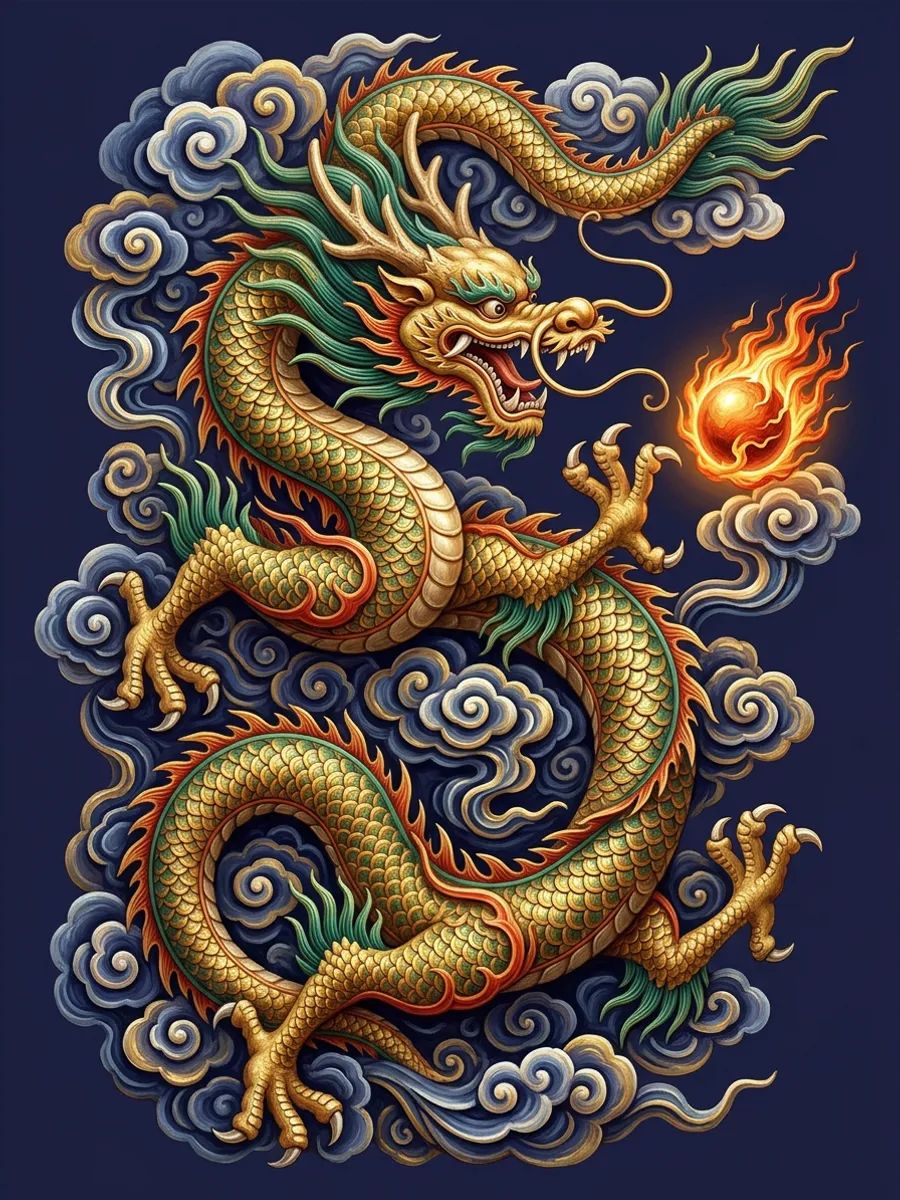
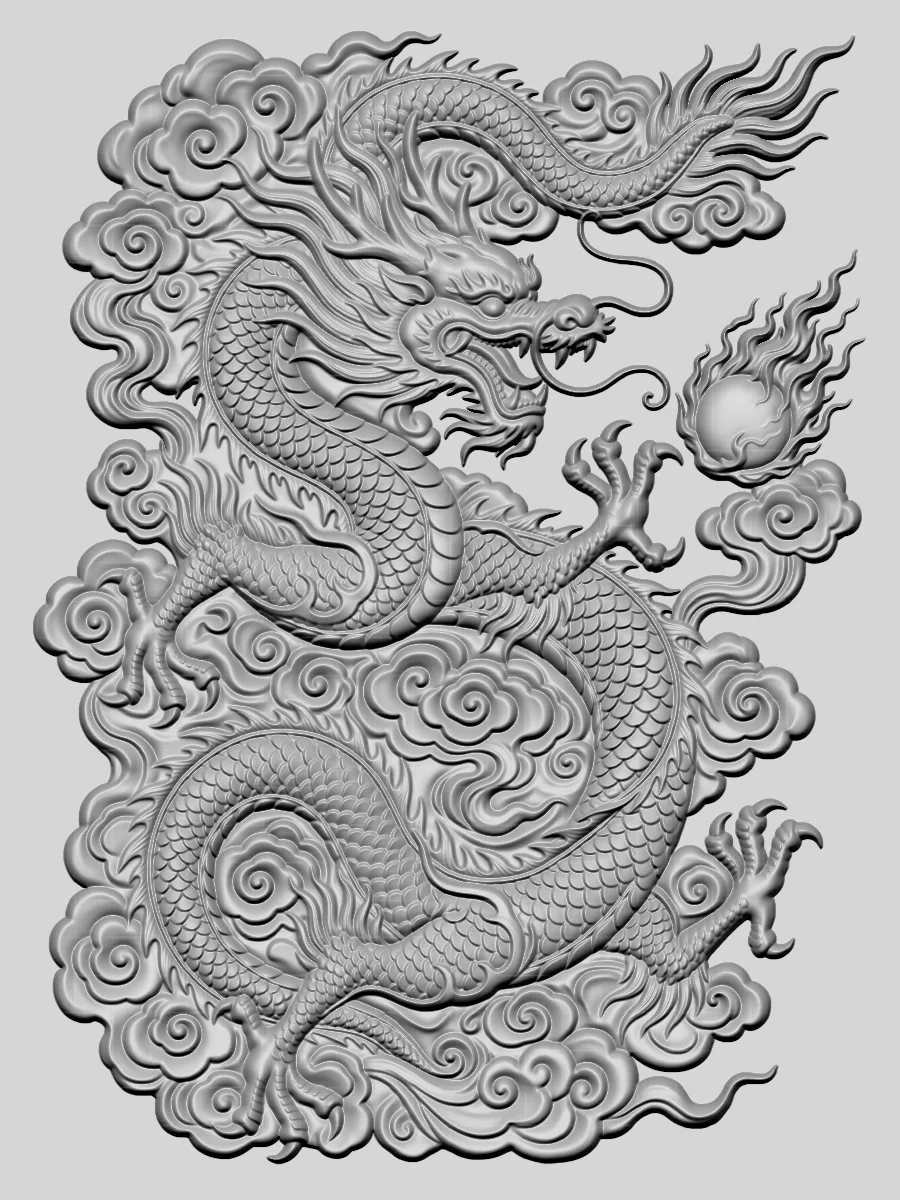
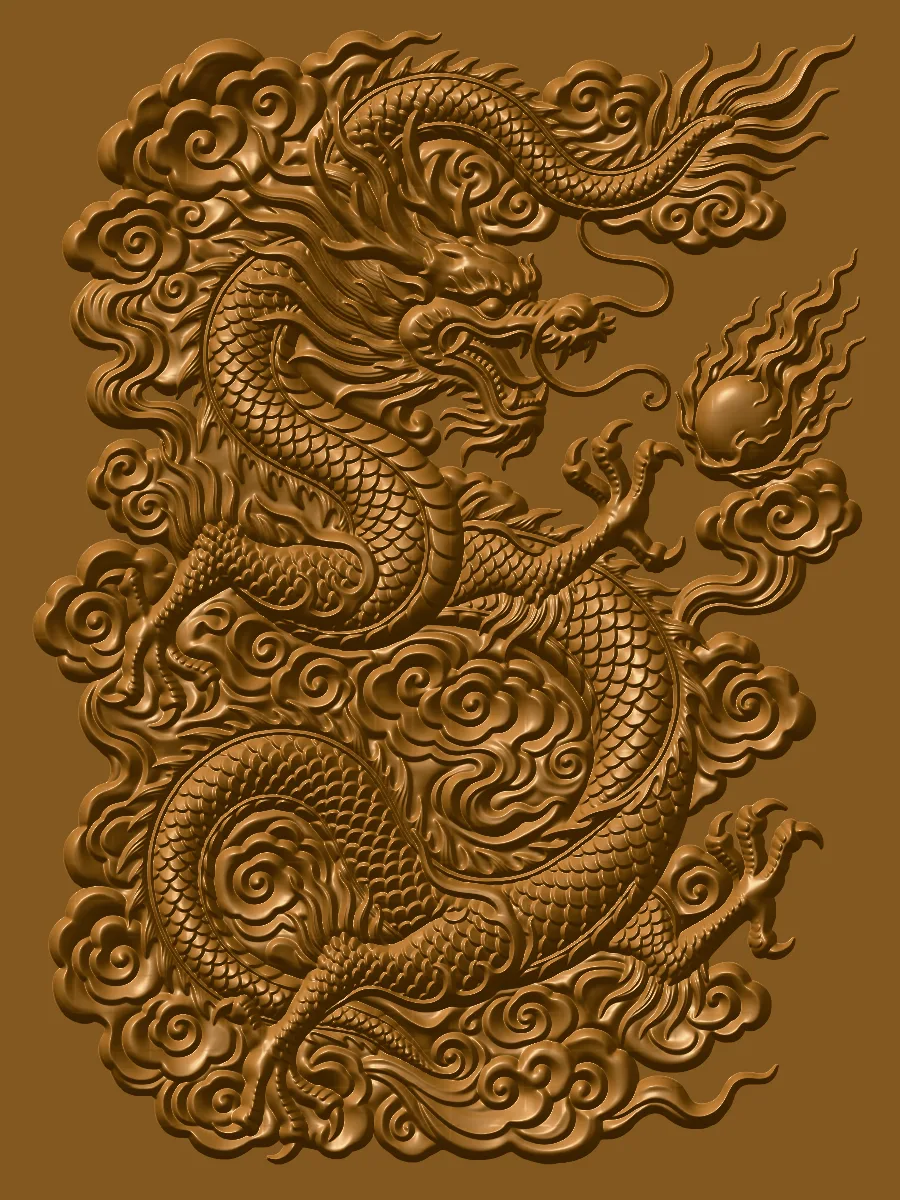
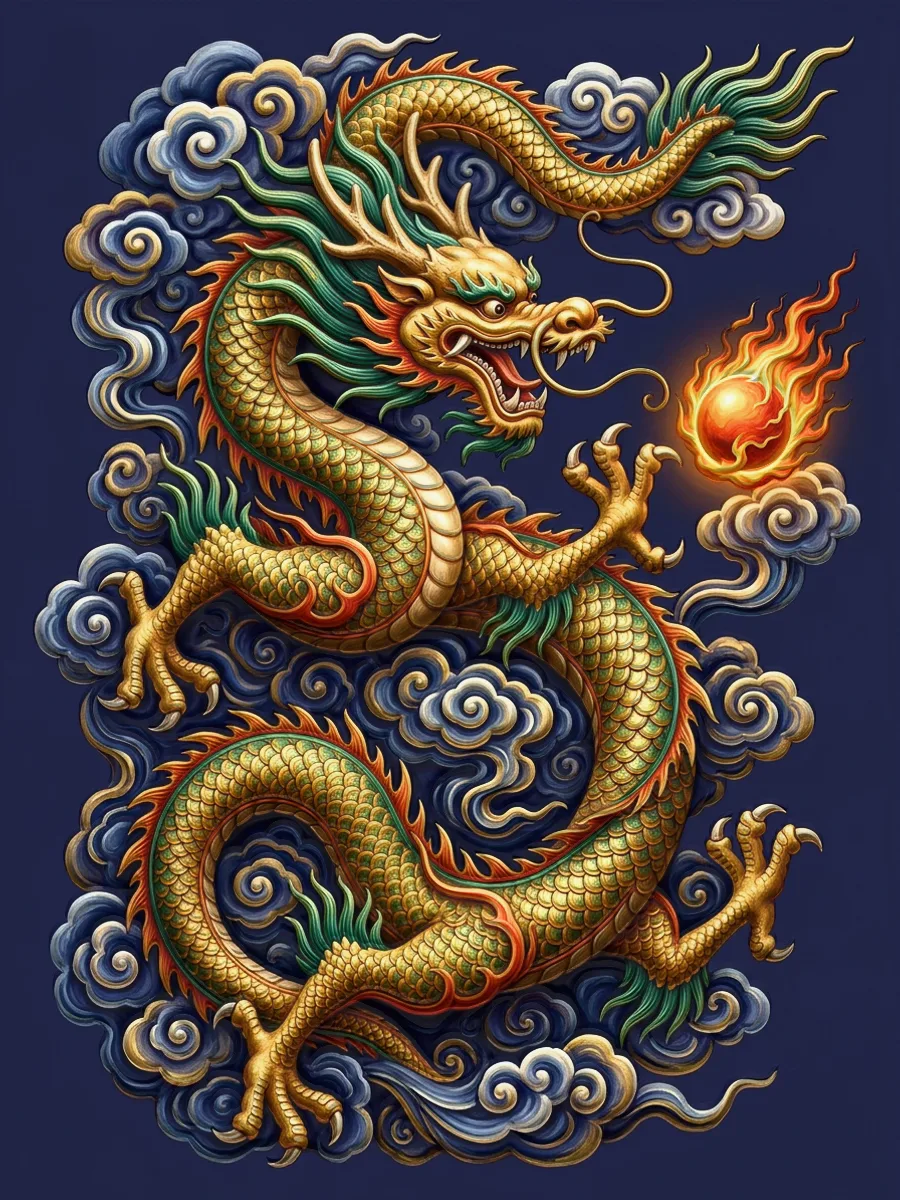
Image to relief examples
Real results: each relief was generated from the image beside it, with the default settings. Drag the handle to compare, and switch between plaster, bronze and full colour.
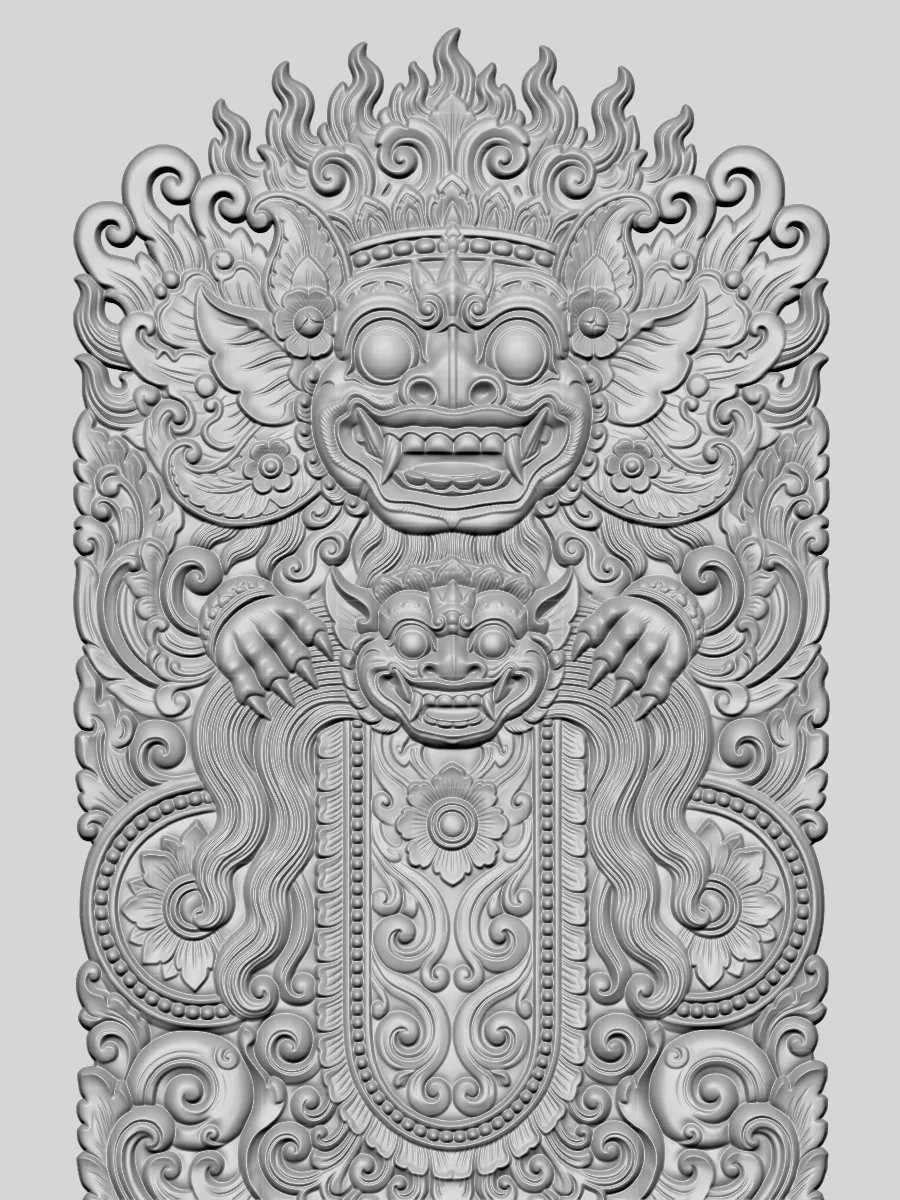
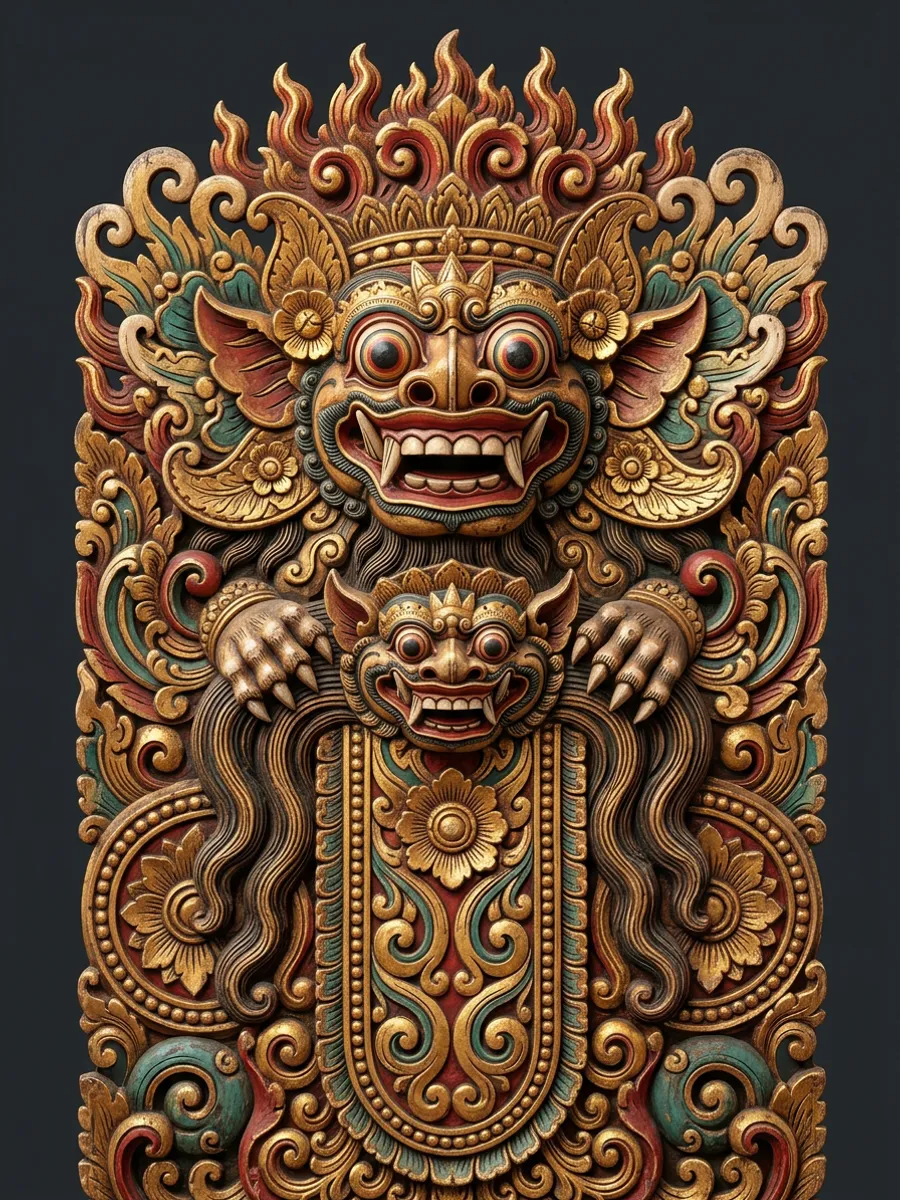
Temple guardian
Dense ornament is where a relief shines: both masks, the claws and every scroll of this Balinese-style guardian panel are carved into the surface. Made for CNC panels and wall plaques.
Chinese dragon
Scales, claws and clouds each come out at their own depth, so the dragon coils off the plate. A favourite for medallions, signs and carved panels.
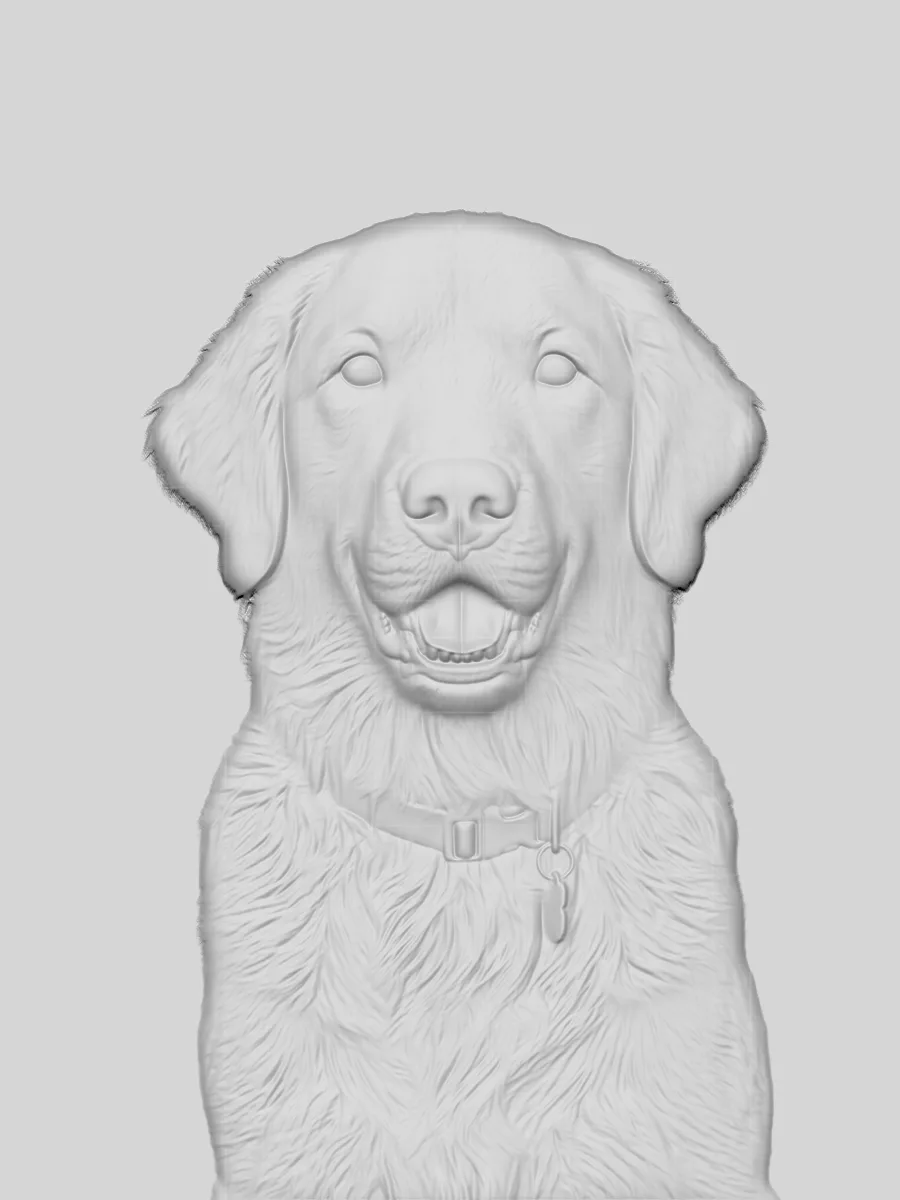
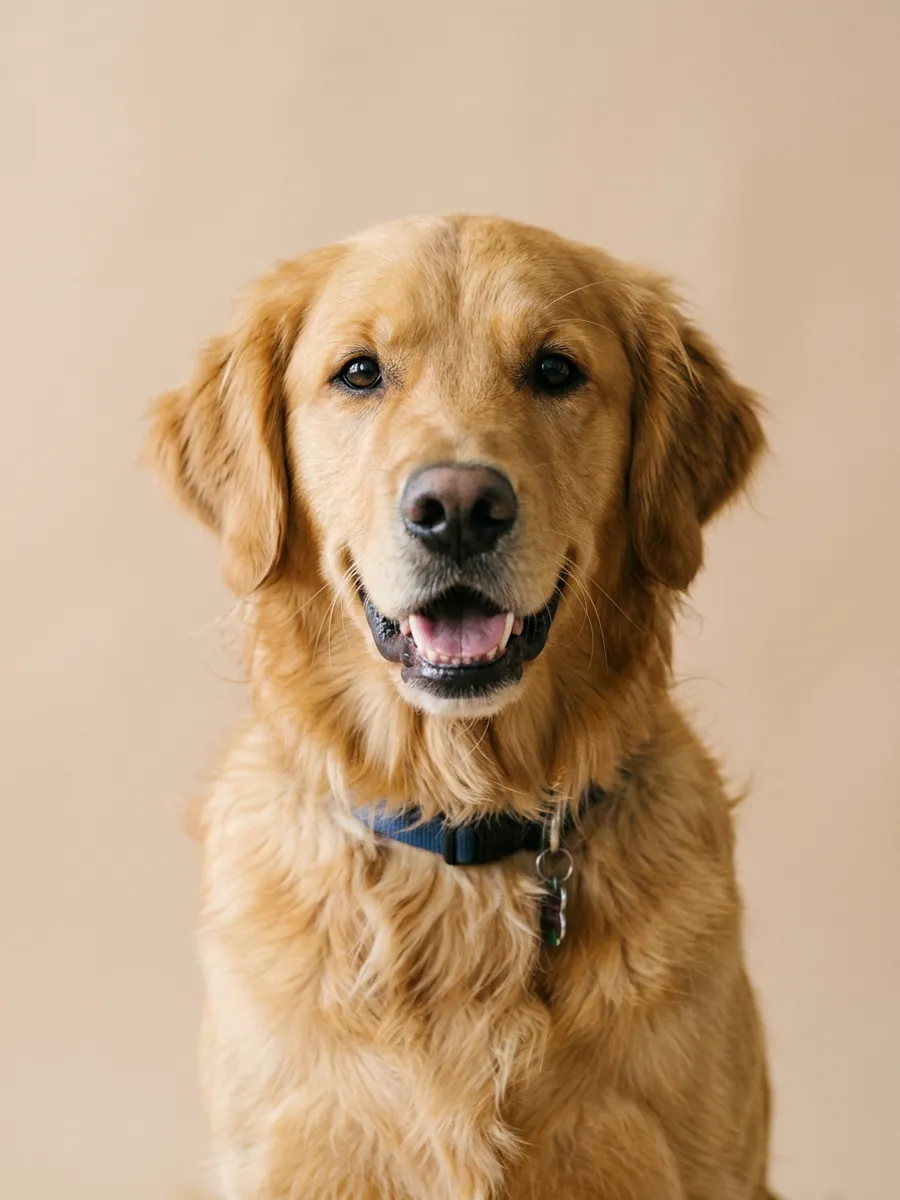
Pet photo
Every tuft of fur is in the model. A pet portrait is the keepsake people make most often with a relief.
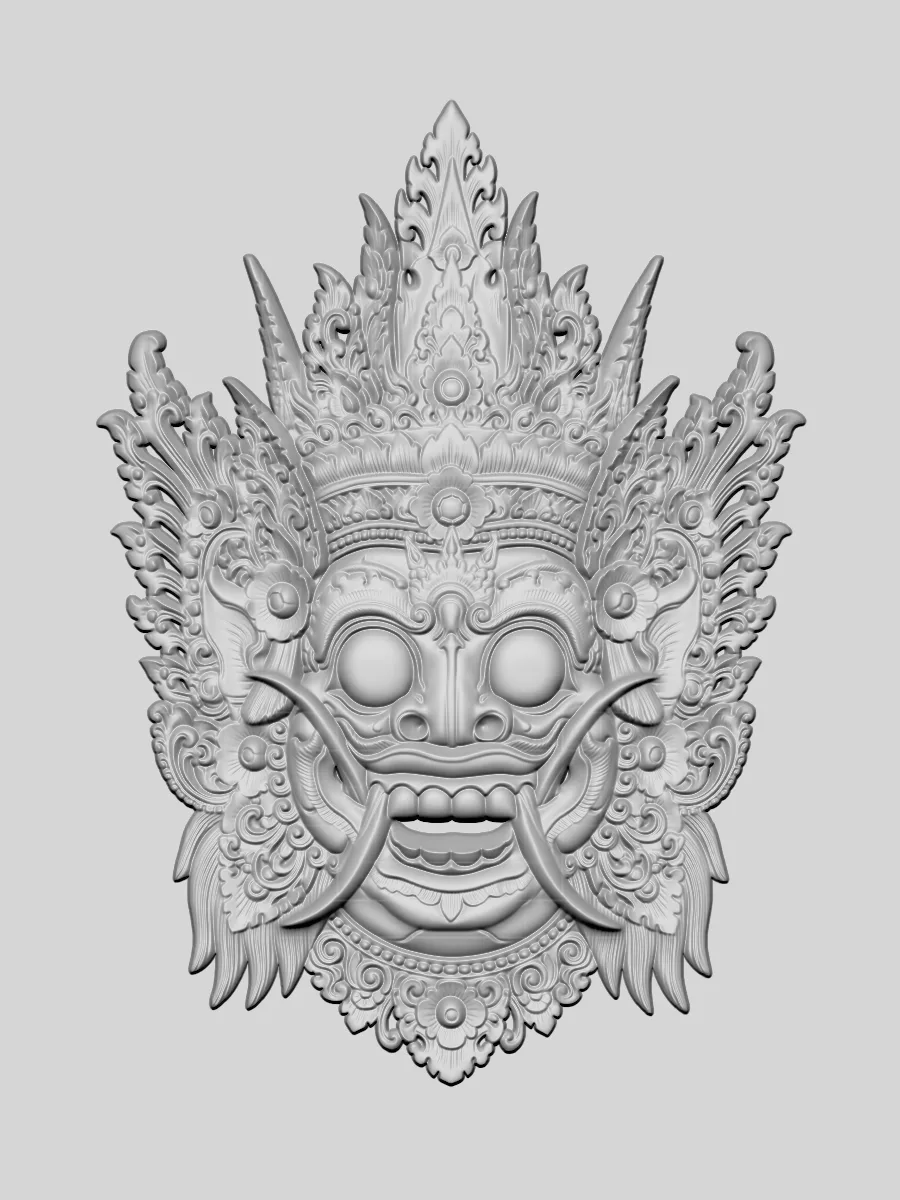
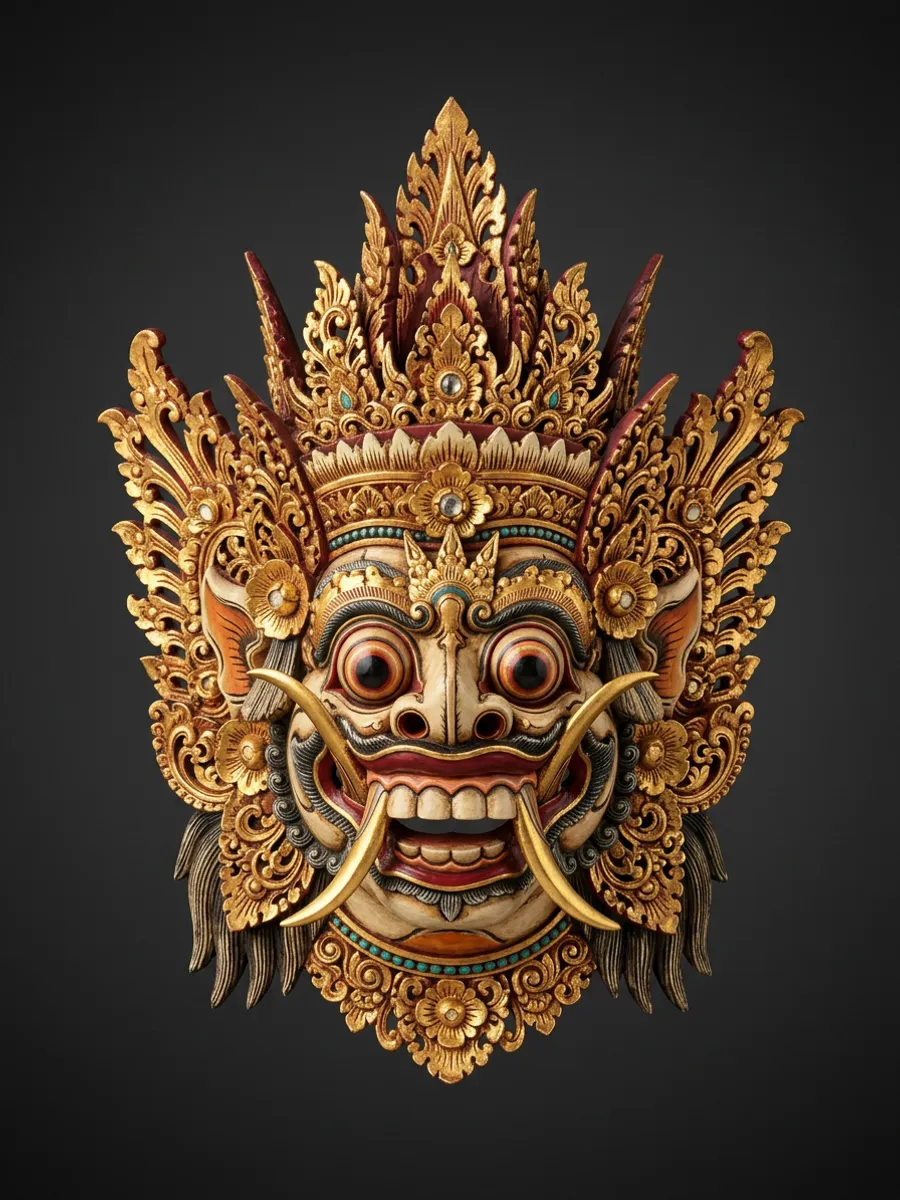
Carved mask
A gilded Barong mask keeps its fangs, its crown and every curl of filigree. Cut the base away and it becomes a wall piece shaped like the mask itself.
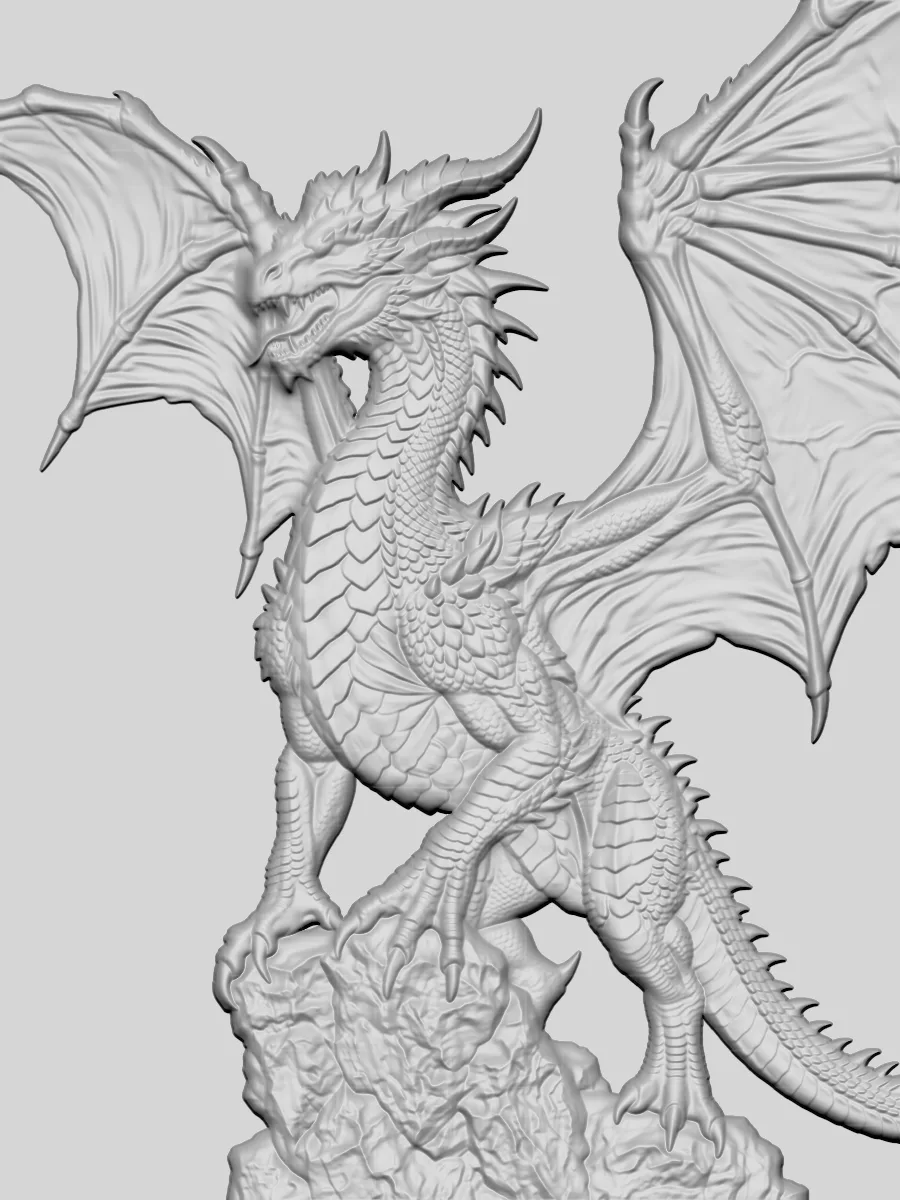
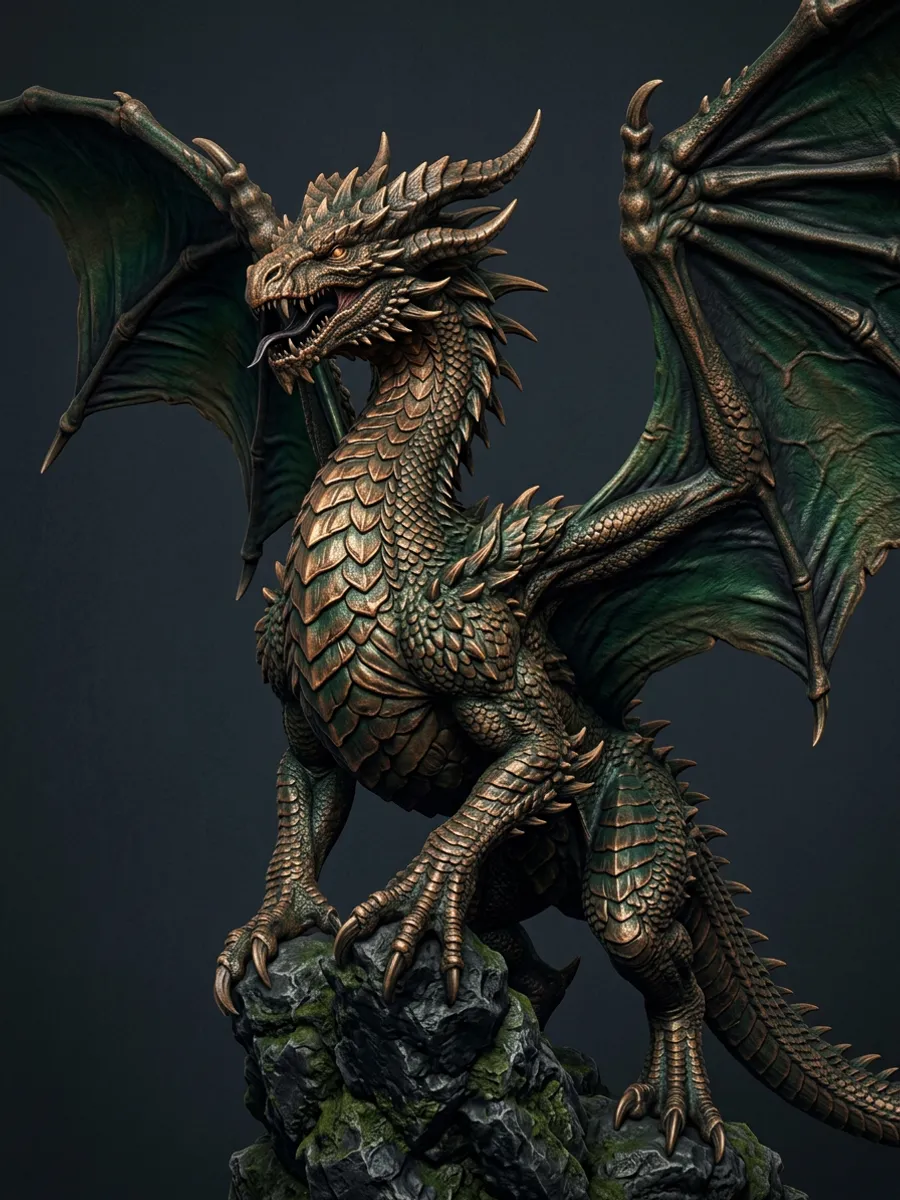
Winged dragon
Horns, wing ribs and row after row of scales stand out from the plate. Photos of figurines and miniatures make strong reliefs.
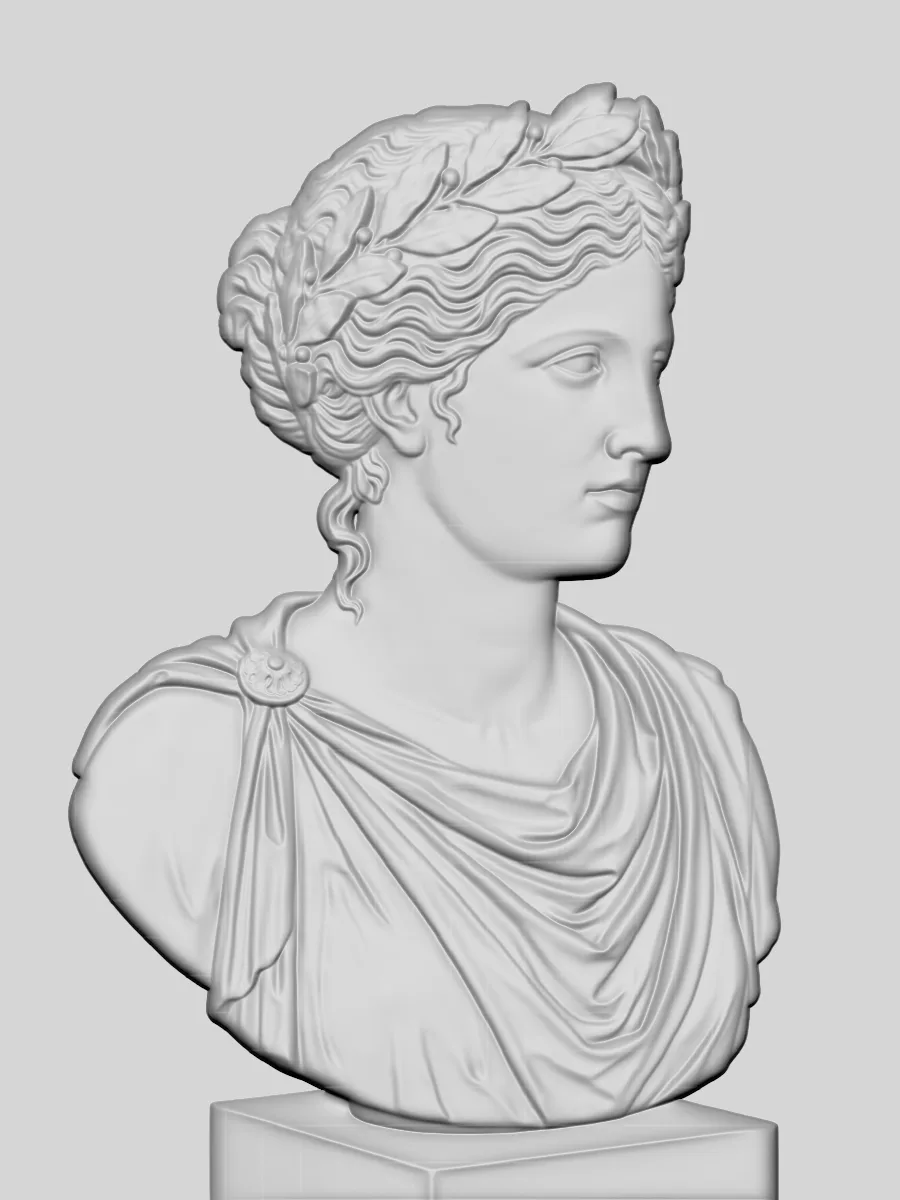
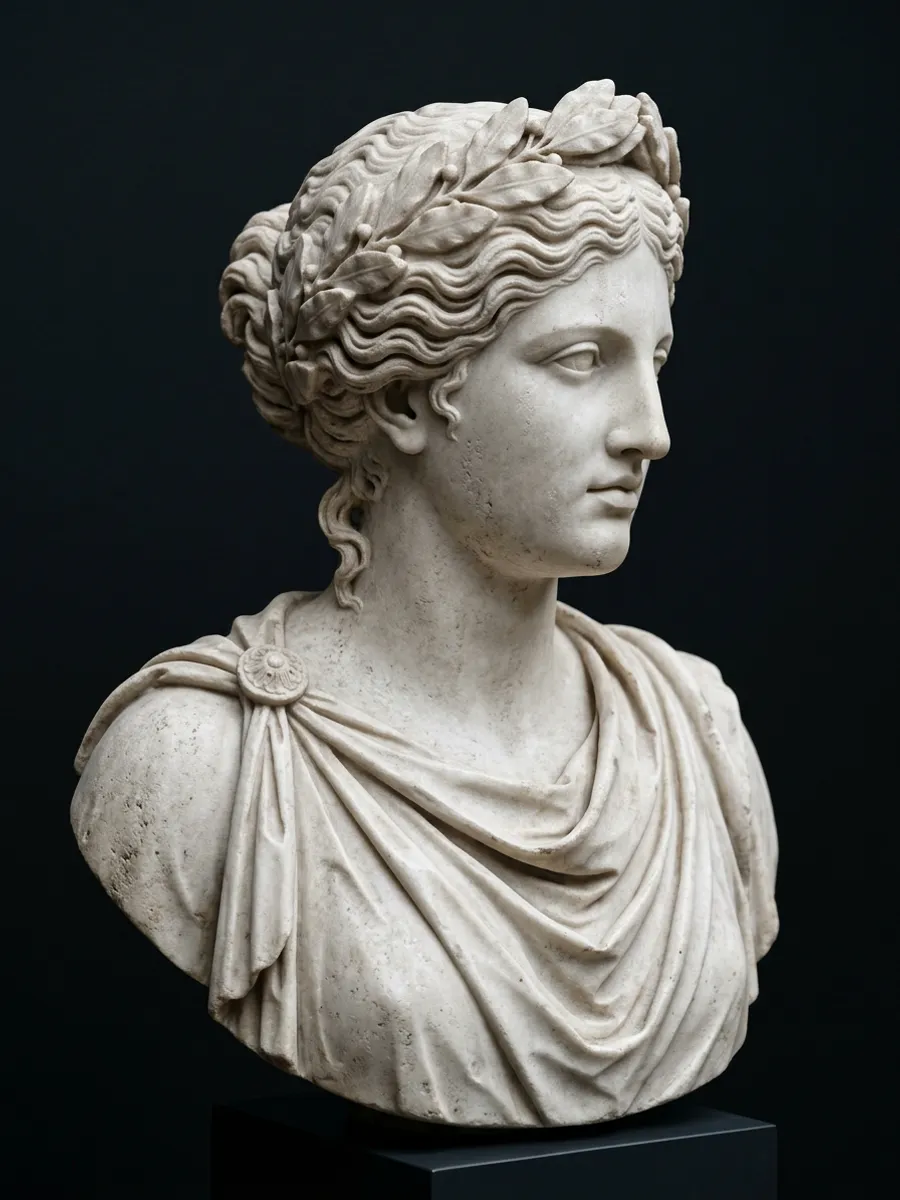
Marble bust
The laurel wreath, the waves of hair and the folds of the robe all come through. A head in profile is the oldest relief subject there is: it is what coins and medals carry.
How to turn an image into a relief
Three steps, about a minute, no 3D modelling skills.
- 1
Upload a photo
Drag in any JPG, PNG or WebP, or paste one from the clipboard. Artwork, statues, portraits, pets and logos all work. No photo handy? Open a sample to see a finished relief first.
- 2
Adjust depth & thickness
Generate the relief — your first one is free — then set the size, carving depth and base while the 3D preview updates live. Cut the base away to keep the subject alone, or engrave instead of emboss.
- 3
Download STL
Members export a watertight STL, 3MF or OBJ in millimetres, or a GLB in full colour. Open it in your slicer, CNC software or 3D viewer and start making.
Controls that shape your relief
Every change shows up in the 3D preview straight away, so you can tune the model before you print it. You can also cut the base away to keep the subject alone.
Carving depth
How far the highest point rises above the plate. 2–4 mm suits coins and small tiles; 5–10 mm throws stronger shadows on a wall plaque.
Emboss or engrave
Emboss raises the subject from the plate. Engrave carves it in instead: use it for an engraved look, or to make a mould that casts the raised version.
Mesh resolution
How finely the surface is sampled. Raise it to keep hair, fur and fine lines crisp; lower it for a lighter file that slices faster.
Base thickness
The flat plate under the relief. 1.5–2 mm keeps a print rigid without wasting material; go thicker for CNC stock or a freestanding piece.
Free to try, membership to download
Make your first relief and inspect it in 3D without paying. Become a member when you want the files.
Free account
Your first relief is on us
Sign up and you get 20 credits: enough to turn one photo into a relief and look at it from every side.
- One relief from your own photo
- Every control: size, carving depth, engrave and cut-out
- Plaster, bronze and colour finishes in the 3D preview
Membership
Download and keep making
Members download every relief they make, as often as they like, and get new credits every month for more.
- STL, 3MF, OBJ and colour GLB, plus the high-resolution originals
- Downloads use no credits
- New credits every month: 20 per relief, refunded if a generation fails
What is image to relief?
Image to relief is the process of converting a flat, two-dimensional picture into a shallow three-dimensional surface. The software reads the picture as a height map: every pixel is given a height, so lighter or nearer areas rise and darker or farther areas sink. The result is a relief — the same kind of raised sculpture you see on coins, medals and carved stone panels — generated from a photo instead of with a chisel.
Because the model is a closed solid with a flat back, it can be 3D printed, CNC-milled, laser-engraved or cast without any sculpting skills. Photo to relief models are popular for personalized gifts, memorial plaques, pet portraits, wall art, embossing dies and tactile pictures for blind and low-vision readers.
Curious about the art form behind it? Read our guide: What is a bas-relief?
Frequently asked questions
Quick answers about the image to relief generator.
Is the image to relief generator free?
Your first relief is free. A free account comes with 20 credits, enough to generate one relief from your own photo and inspect it in 3D with every control. Downloading the model files is for members: plans start at $19 a month, and downloads themselves use no credits.
Which image formats are supported?
You can upload JPG, PNG and WebP images up to 40 MB, or paste an image from the clipboard. Members download the finished model as STL, 3MF, OBJ or GLB. OBJ and GLB can keep your photo's colours: the GLB embeds it as a texture, and the OBJ comes as a zip with its material file and the picture, with vertex colours as well. Every relief also comes with a high-resolution STL and GLB.
Can I 3D print the relief directly?
Yes. Every export is a watertight solid with a flat base, sized in millimetres, so it opens in Cura, PrusaSlicer, Bambu Studio or OrcaSlicer without repair. For most reliefs a 0.12–0.16 mm layer height and 15–20% infill work well. Our relief to 3D page lists the full recommended print settings.
How long does it take?
About a minute: that is how long it takes to turn your photo into a relief. After that the 3D preview updates live as you change the settings, and exporting a file takes a second or two.
Do I need to create an account?
Yes, a free one. You can explore the sample reliefs without an account, but turning your own photo into a relief needs one, so that your credits and your reliefs can be saved. Your photo is kept while you sign up. Downloading the files needs a membership.
What kind of photos work best?
Choose an image with one clear subject, even lighting and a simple background. Detailed artwork such as masks and dragons, statues, front-facing portraits and pets give the best reliefs. Avoid heavy blur, cluttered backgrounds and very small text.
Turn your photo into a relief today
Create a free account and your first relief is on us.